
A favorite gift of mine (to give and receive!) is jewelry. Recently a Charming Charlie opened up in Franklin. WHAT?!?! I was super excited since it is the cornucopia of all things beautiful when it comes to accessories. Now, I’m not really a fine jewelry person. In fact, the only pieces of fine jewelry I own are my wedding ring and my engagement ring, and the necklace my husband gave to me as a gift on our wedding day. My husband knows that I change my jewelry as often as the the weather changes in Franklin (read: often. also read: it’s happening this week). With that in mind, places like Charming Charlie, Forever21 and Target are this bargain girl’s jewelry playground.
To keep up with the shifting jewelry winds in my world, I discovered recently that I was just throwing these bobbles about to and fro with no real “home” in mind for them. Thus, I determined that it was time for a jewelry solution, especially for my earrings. The result? A fantastic, do-it-yourself jewelry organizer that was super-duper easy to make!
Here are the steps so you can do the same:
- Get a cheap frame from Goodwill or your favorite bargain store (I got mine for $4.99!). Look for something that is at least 8×10 or bigger.
- If needed, spray paint the frame your desired color (mine is black).
- Purchase a spool of sturdy ribbon or cord. I grabbed a silverish-gray mouse tail cord at Hobby Lobby.
- Cut the ribbon/cord into strands as wide as the frame.
- On the back-side of the frame, make pencil markings all the way down the left-hand side 2-3 inches apart starting at the top to mark where each strand will be placed.
- Get out your hot glue gun and while still on the back-side of the frame put a dollop of glue where the first pencil mark is and immediately hold one end of the ribbon/cord in place until it is dry (it’s super important to make sure it’s dry).
- Stretch the cord across to the right-hand side of the frame, add a dollop of glue, and pull the string taught while pressing it into the fresh dollop of glue. Don’t worry if the ribbon/cord hangs over the right-hand side because you will go back and cut off the excess at the end. (It’s also super important to pull it as tight as you can so that it will be able to hold your earrings without sagging too much.)
- Continue this process with each strand of ribbon/cord until you get to the bottom of the frame.
- Go back and cut off the excess ribbon/cord on the right-hand side.
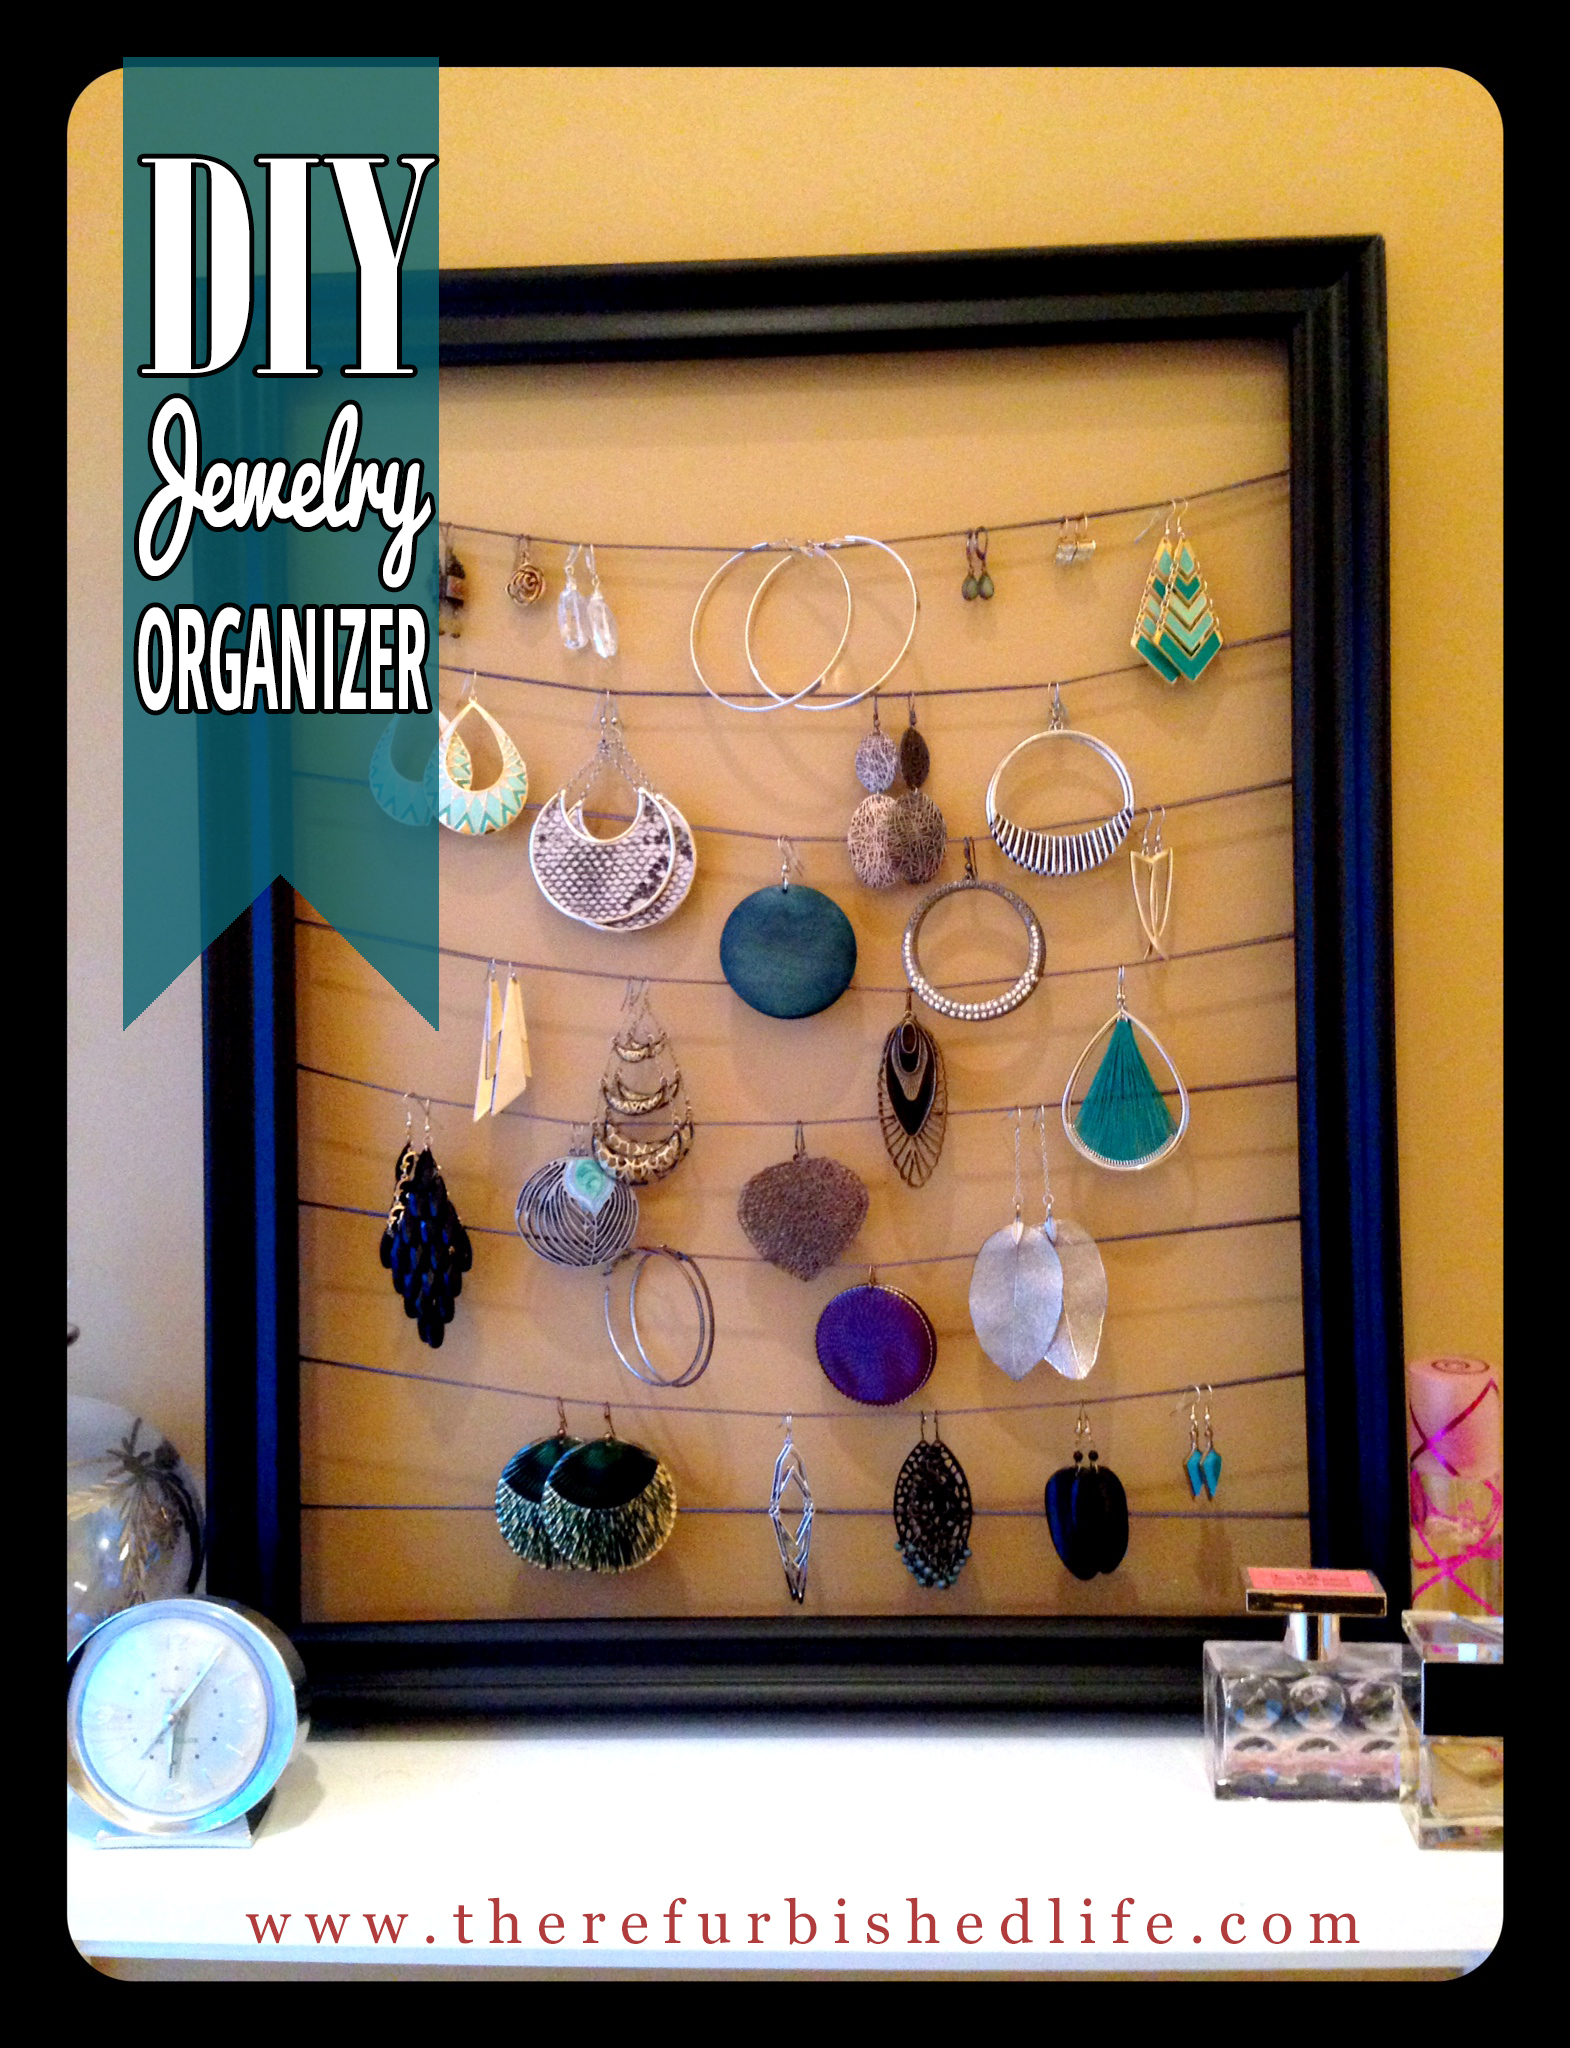
- Voila! A functional and cute jewelry organizer!


Neither gold nor crystal can equal it, nor can it be exchanged for jewelry of fine gold. No mention shall be made of coral or quartz, for the price of wisdom is above rubies. | Job 28:17-18

2 thoughts on “jewelry organizer diy”